RV Leveling Blocks: A Comprehensive Guide

Table of Contents
Introduction
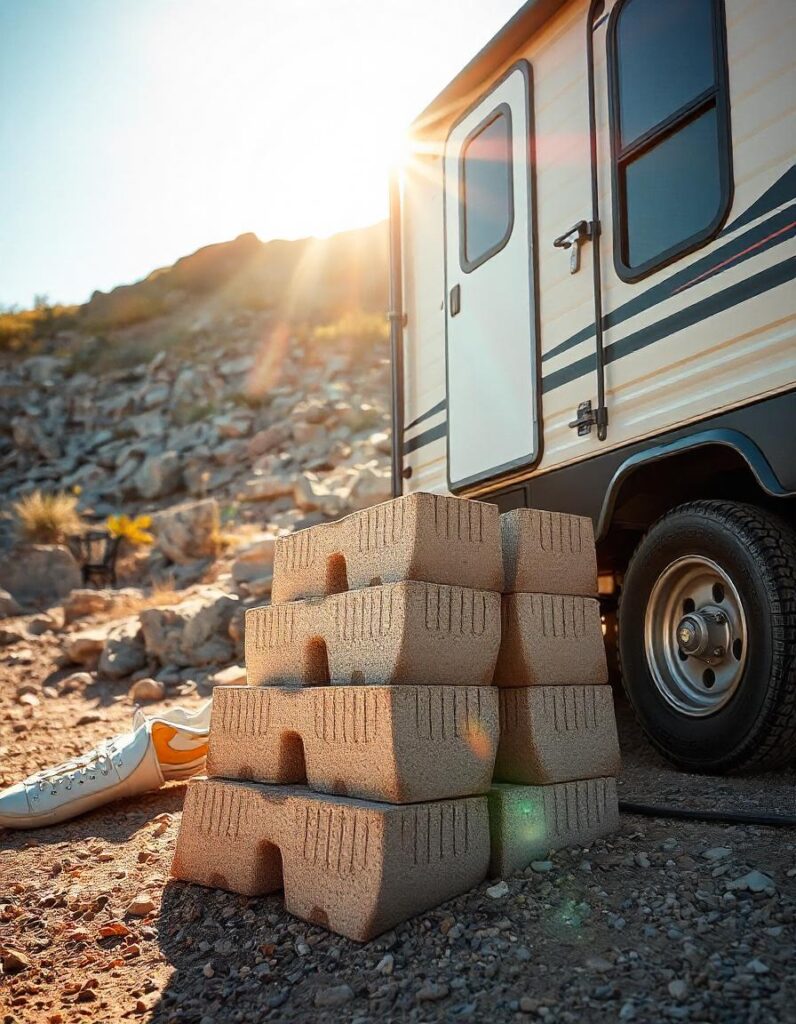
When you’re out RV camping, one of the most important tasks is making sure your vehicle is level. Proper leveling enhances your comfort, ensures appliances work correctly, and helps prevent accidents. RV leveling blocks are essential tools for stabilizing your vehicle on uneven terrain. In this guide, we’ll cover the various types of leveling blocks, how to choose the right ones, their benefits, and tips for maintenance and proper use.
Key Takeaways
- Invest in Quality: Quality RV leveling blocks significantly enhance your comfort and safety while camping.
- Consider Your Needs: Choose blocks that fit your RV and typical travel conditions.
- Regular Maintenance: Proper care will extend the life of your leveling blocks and ensure they serve you well on many adventures.
Types of RV Leveling Blocks
| Type | Material | Advantages | Disadvantages |
|---|---|---|---|
| Plastic RV Leveling Blocks | High-density polyethylene | Lightweight, stackable, and resistant to rot | Can crack under extreme weight |
| Wooden RV Leveling Blocks | Treated lumber | Strong, customizable, and cost-effective | Heavy and can rot if not properly treated |
| Rubber RV Leveling Blocks | Recycled rubber | Excellent grip and weather-resistant | Typically more expensive than plastic |
| Metal RV Leveling Blocks | Aluminum or steel | Extremely durable and stable | Heavy and may rust without proper care |
1. Plastic Leveling Blocks
Plastic RV leveling blocks are a popular choice among RVers. They are lightweight and stackable, making them easy to transport. Made from high-density polyethylene, these blocks resist moisture and rot, but be cautious as they can crack under excessive weight.
2. Wooden Leveling Blocks
Wooden blocks are known for their sturdiness and can be easily customized to fit your specific needs. While they offer great strength, they are heavier than plastic and can rot if not treated with a protective sealant.
3. Rubber Leveling Blocks
Rubber blocks excel at providing grip and stability, especially on uneven or slippery surfaces. They are durable and resistant to various weather conditions, although they often come with a higher price tag than their plastic counterparts.
4. Metal Leveling Blocks
Metal leveling blocks are incredibly strong and capable of supporting significant weight, making them ideal for larger RVs. However, their weight can make them cumbersome to transport, and they require proper maintenance to prevent rust.

How to Choose the Right RV Leveling Blocks?
When selecting Rv leveling blocks, consider these important factors:
- Weight Capacity: Ensure the blocks can safely support your RV’s weight. Check the specifications from both your vehicle and the blocks.
- Size: Choose blocks that are suitable for your RV’s dimensions and the terrain you’ll encounter.
- Material: Assess your budget and the conditions in which you will be camping. For example, rubber blocks are preferable in wet environments, while plastic might work fine in drier areas.
- Compatibility: Some blocks are specifically designed for certain RV types. Be sure to verify compatibility before making a purchase.
Read Also : RV with Washer and Dryer: Ultimate Convenience on the Road : : Explanation of Zions Gate RV Resort Hurricane UT : : The Ultimate Guide to RV Water Filters : : How to Get a Bonded Title for an RV?
Benefits of Using Leveling Blocks
Using RV leveling blocks provides several benefits:
- Enhanced Comfort: A level RV makes moving around easier and more comfortable, especially when sleeping or cooking.
- Improved Appliance Performance: Appliances like refrigerators function best when the RV is level, preventing potential malfunctions.
- Safety: Proper leveling reduces the risk of accidents, such as rollovers, which can be especially dangerous in windy conditions.
Step-by-Step Guide to Leveling Your RV
1. Preparing the Site
- Finding a Level Area: Look for a flat, solid surface that can support your RV’s weight. Avoid soft or uneven ground.
- Assessing the Slope: Use a leveling tool or a smartphone app to check the slope of the ground.
2. Using Leveling Blocks
- Placement Techniques: Start by placing blocks under the tires that need elevation. Focus on the lowest side of the RV and stack blocks as necessary.
- Adjusting for Terrain: If you’re on soft ground, wider blocks can help distribute the weight more evenly.
3. Final Checks
- Confirming Proper Leveling: After parking, use a bubble level or an app to ensure your RV is level side-to-side and front-to-back.
- Adjusting as Necessary: If the RV isn’t level, adjust the blocks until it is.
Maintenance and Care for RV Leveling Blocks
To keep your Rv leveling blocks in good condition, follow these maintenance tips:
- Cleaning: After each use, remove dirt and debris. Wipe down plastic and rubber blocks, while wooden blocks should be brushed off and dried to prevent rot.
- Storage: Store blocks in a dry place to protect them from moisture, especially wooden options.
- Regular Inspection: Check for cracks, warping, or other signs of wear, and replace any damaged blocks as needed.
Common Mistakes to Avoid
- Misjudging the Slope: Always use a leveling tool to avoid relying on visual estimates, which can lead to improper leveling.
- Overloading the Blocks: Exceeding the weight limits can lead to block failure, posing safety risks.
- Neglecting Stability Checks: After setting up, ensure your RV remains stable before moving around inside.

Conclusion
RV Leveling Blocks are your vital for a pleasant and safe camping experience. By understanding the different types of leveling blocks and how to use them effectively, you can ensure your vehicle is stable and comfortable. Don’t underestimate the importance of this aspect of RV maintenance—invest in quality leveling blocks and enjoy your adventures with peace of mind!


