How to Add an RV Dump Tank at Home?
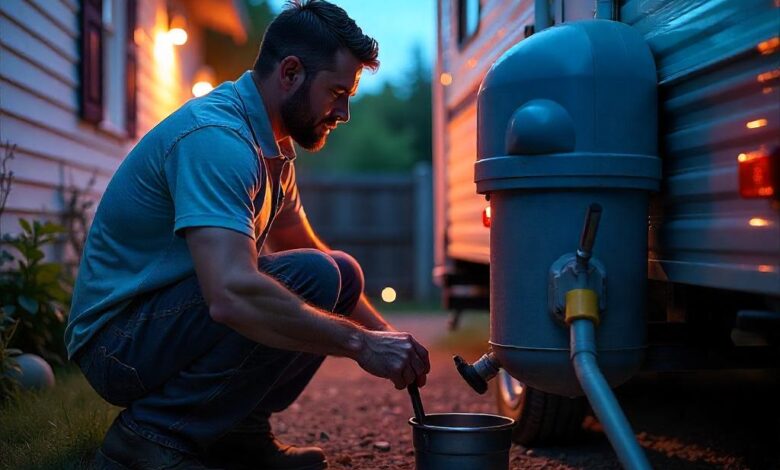
Table of Contents
Key Takeaways:
- DIY Convenience: The RV dump tank is easy to be set up at the home, and it is economical if one frequently travels in an RV since it allows disposal of the waste at home without having to rely on other dump stations.
- Legal and Safety Guidelines: Meeting the regions’ regulation and applying the correct means of disposal prevent compromising compliance with legal requirements and the environment respectively.
- Maintenance Essentials: For long time service delivery, it is felt that there is need for regular cleaning and the use of septic safe products to help avert any build-up of bad smell.
Introduction of How to Add an RV Dump Tank at Home
Having an RV dump tank at home can be incredibly convenient for RV owners who frequently hit the road. The freedom to dump waste right from your property eliminates the hassle of finding nearby dump stations, especially during peak travel seasons or late-night returns. With some equipment, knowledge, and local compliance checks, you can set up a safe, clean, and legal RV dump tank at home.
Why Consider an At-Home RV Dump Tank?
If you use your RV frequently, adding a home RV dump station saves both time and money. You’ll avoid fees associated with commercial dump stations and can dump on your own schedule. Additionally, proper at-home waste management helps ensure sanitary conditions and contributes to eco-friendly waste disposal practices.
Legal Requirements: Check Before You Install
Before you begin, understanding your local regulations is essential. Rules on waste disposal vary by county and state, especially when tying into residential septic systems or sewer lines. Here’s what to consider:
- Contact Local Environmental Services: Reach out to your county’s environmental services or health department to ask about regulations for RV waste disposal.
- Determine Permit Requirements: Some areas may require a permit, even if connecting to an existing septic tank or sewer cleanout. Permits ensure your setup is compliant with municipal waste policies.
- Follow Disposal Standards: Septic systems in residential settings have waste limits and bacteria balances that can be affected by RV waste. Following local guidelines keeps your septic system functioning properly.
Equipment Needed for Setting Up an RV Dump Tank
To set up an at-home RV dump tank, you’ll need specific tools and accessories to ensure safe connections and easy maintenance. Here’s a breakdown of essential equipment:
| Equipment | Purpose |
| RV Sewer Hose | Connects RV waste outlet to septic or sewer line |
| Sewer Hose Adapter | Creates a secure fit with your dump connection |
| Disposable Gloves | Maintains cleanliness during the dumping process |
| Septic-Safe Cleaner | Keeps tank and pipes odor-free |
| PVC Pipes and Fittings | Connects to septic/sewer if a direct link is needed |
| Rinse Tool | Cleans the hose and tank after each dump |
| Macerator Pump (optional) | Helps grind waste for easier flow |
Step-by-Step Guide to Setting Up an RV Dump Tank at Home
With your equipment ready, follow these steps to set up your at-home dump tank.
Step 1: Select the Best Dumping Location
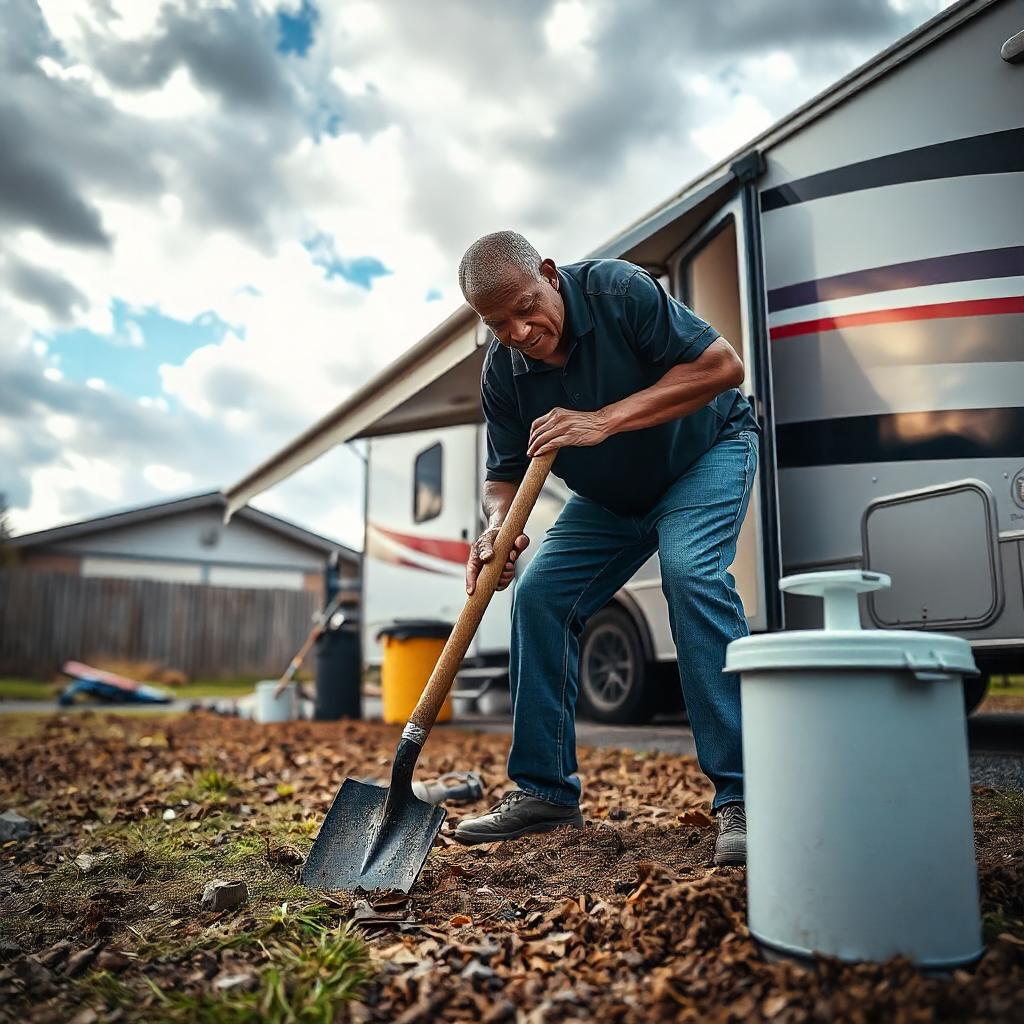
It is necessary to select an area of the land that is located at a reasonable distance from your driveway and also, at the same time, the site must be a considerable distance from water resources. Ideally, the site’s distance should allow the extension of your sewer hose to a septic or sewer line connection without extension, as this could be dangerous.
Step 2: Prepare Your Setup and Gather Equipment
Make sure you have all necessaries tools at your disposal. Be sure to verify that the hose length and adapters you choose complements that of your RV’s sewer outlet and your home’s septic/ sewer system.
Tip: Buy a long lasting sewer hose with strong and thick material for the hose as per the and use requirements.
Step 3: Connect to the Septic Tank or Sewer Line
- Locate Septic Access or Sewer Cleanout: For septic systems, access the inlet and attach your RV sewer hose securely. If connecting to a residential sewer line, find the sewer cleanout, which usually has a capped access point.
- Using an Adapter: An RV sewer adapter will create a secure, sealed connection between the sewer hose and your home’s cleanout point.
- Position the Hose for Dumping: Attach the hose to the RV’s black water tank outlet. Ensure it is securely fastened to avoid accidental spills during dumping.
Step 4: Empty RV Tanks
Begin by opening your RV’s black water valve to empty solid waste, followed by the gray water tank to help flush the hose. This step-by-step emptying keeps the system clean and prevents clogs.
Important: Always dispose of black water first. This ensures that gray water rinses out any remaining waste, reducing odor and contamination risks.
Read Also : How Far is Yosemite RV Camping from Yosemite National Park?
Step 5: Rinse, Disinfect, and Store
After emptying, rinse the hose thoroughly with water. Using septic-safe disinfectants will help eliminate any residual odors. Once cleaned, store the hose securely in a container to prevent unwanted smells and leaks in your storage area.
Maintenance Tips for Your At-Home RV Dump Tank System
Proper maintenance of your RV dump tank setup ensures long-term reliability. Here are some tips:
- Regular Cleaning: Clean the sewer hose and tank connections after each use. Septic-safe cleaners will help maintain tank and pipe hygiene.
- Inspect for Leaks: Check hoses, adapters, and pipes periodically for leaks. Cracked or damaged hoses should be replaced immediately.
- Scheduled Septic Pumping: If using a septic tank, arrange for regular pumping to prevent tank overloading.
How to Handle Odor Control
- Use RV Tank Treatment: Septic-safe tank treatments reduce odors and break down waste for smoother flow.
- Ventilation: Install a tank vent or cap with an odor filter to allow gases to escape without impacting air quality around your home.
Alternative Options for RV Waste Disposal
If direct connection to a septic or sewer line isn’t feasible, there are other options for managing RV waste at home.
Option 1: Macerator Pump
A macerator pump is a powerful tool that grinds waste, making it easy to pump through narrow hoses to a sewer line or even into a toilet inside your home. Here’s why a macerator pump may work for you:
- Flexible Disposal: Allows dumping into smaller inlets.
- Improved Waste Breakdown: Converts solid waste into a slurry, reducing clogs.
- Increased Portability: Ideal for setups where a direct septic or sewer line connection isn’t available.
Option 2: Portable Waste Holding Tank
Holding tanks, also known as honey wagons are receptacles used for transportation of the waste to a legal disposal area. These tanks are often mobile, built on wheels and may be a good solution for households that lack a direct septic connection.
Read Also : How Much Refrigerant Does an RV Air Conditioner Need?
Safe and Eco-Friendly Dumping Practices
Responsible dumping practices ensure a sanitary system while protecting the environment. Here are a few tips for eco-friendly waste management:
- Moderate Waste Disposal: Do not empty the septic tank too often or take huge amounts of waste at a time. Avoid putting too much solid waste across the same dump day to avoid exerting much pressure on the septic system.
- Avoid Harmful Chemicals: Don’t use any products which indicate that they are safe for septic systems, as this will only kill off good bacteria in that septic tank.
- Keep Soil and Water Sources Safe: Make sure that your dumping, disposal or waste storage is out of reach from the nearest drinking water source or wells and garden.
FAQs for Adding an RV Dump Tank at Home
Q: Can I dump RV waste directly into my home toilet?
A: Yes, with a macerator pump, it’s possible to pump waste directly into your home toilet. This option is often more suitable for occasional use rather than a full setup.
Q: Will adding RV waste harm my septic tank?
A: In moderation, RV waste can be added to a septic tank. Be sure to avoid harsh chemicals and overloading to keep your septic healthy.
Q: How do I find my septic cleanout point?
A: The septic cleanout is typically located outside, near where plumbing exits the house. It may have a cap or lid that provides access to the system.
Conclusion: Your Ultimate Guide to At-Home RV Waste Disposal
Creating an at-home RV dump tank can save time, money, and hassle for frequent RVers. By following a thorough installation process, adhering to local regulations, and maintaining a clean and functional setup, you can enjoy the convenience of dumping at home. Whether you choose a direct septic hookup or a macerator pump, proper waste management is essential for keeping your system running smoothly.

