How to Install RV Backflow Preventer?
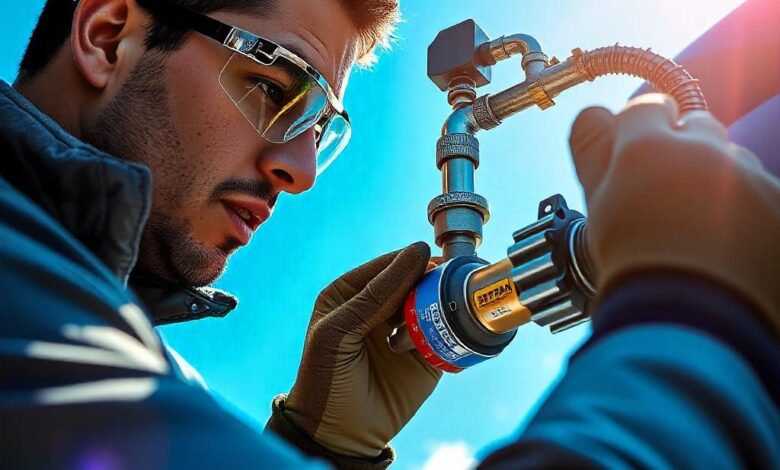
For those of us lucky enough to own an RV, ensuring that the water that is used within your RV is clean is a very serious issue. An example of one of those little devices is an RV backflow preventer that assists in achieving that. Small though it is, this little gadget will help prevent a lot of problems later on whereby dirty water is getting into the clean water tank.
To do that and help everyone out, I will give brief explanations of what an RV backflow preventer is, why an RV needs one, and how to install rv backflow preventer. At the conclusion of this post, you will feel fully equipped to handle installation independent of any plumbing knowledge on your own!
Table of Contents
What Exactly is an RV Backflow Preventer?
The Basics
An RV backflow preventer is quite literally a safety mechanism that guarantees that water will only ever flow in a forward direction, specifically into to your RV’s plumbing system. Why is that important? Well, if such water in your RV’s system ever flows in the reverse, known as backflow, it could contaminate water in your greywater or blackwater tanks. And we can all surely agree that’s not something you wish would enter your drinking water!
For example, if there’s a situation when there is low pressure in water supply provided by the camp, low could result in water flow in the opposite direction. The preventer ensures this does not occur, ensuring your clean water… well, remains clean.
Different Types of RV Backflow Preventers
Here are some common types of backflow preventers you’ll come across for RV use:
| Type | How It Works | Best For |
|---|---|---|
| Atmospheric Vacuum Breaker (AVB) | Allows air to break the vacuum and stop backflow when water stops. | Basic RV setups |
| Check Valve | A simple one-way valve that only lets water flow in one direction. | Standard RV water systems |
| Pressure Vacuum Breaker (PVB) | Prevents backflow by letting air in when water pressure drops. | High-pressure systems |
| Double Check Valve | Two check valves for double protection. | RVs that hook up to various water sources |
These different types all essentially do the same thing, but some are better for high-pressure systems (like those at RV parks), while others are for standard setups.
Why Should You Install Rv Backflow Preventer in Your RV?
Protecting Your Health and Safety
First and foremost, it goes out to your health. If you have flowing back type of contaminated water from the tap into your clean water tank, you will be sick. It could be bacteria which are harmless, or even tune, chemicals mingling into your water at worse.
Think of drawing fresh water at a campsite and, suddenly, the flow rate of the water diminishes. If you do not install a backflow preventer, contaminated water can be pulled from your lines back into your tank. That’s the recipe for a bad trip if you ask me!
Avoiding Costly Plumbing Repairs
Apart from being associated with numerous health risks, backflow can also upset the plumbing system in your RV. Impurities in water can block your pipe, damage your water pump, and are expensive to be repaired. In short, this small device is effective to help to prolong the lifespan of plumbing system in your RV.
Legal and Campground Requirements
There are moments when the majority of RV parks and campgrounds demand backflow preventers before connecting to their water line. It is for this reason and to ensure their systems do not get infected as well that it is safe to ban the use of their equipment. Therefore, having one isn’t a mere suggestion – it is a requirement, most of the time.
How to Choose the Right RV Backflow Preventer
There’s no one-size-fits-all when it comes to RV backflow preventers, so here’s what you need to keep in mind when choosing one:
Key Considerations
- Size: Check the size of your RV’s plumbing. Most systems use 1/2-inch or 3/4-inch fittings. Get the right match.
- Water Pressure: Some preventers are better for low-pressure systems (like AVB), while others handle high-pressure setups (like PVB).
- Material: Brass or stainless steel preventers are durable and rust-resistant. Plastic models are cheaper but may wear out faster.
- Ease of Installation: Look for one that’s easy to install if you’re not handy with plumbing tools.
- Certifications: Check if it’s NSF-certified to meet safety standards.
Popular RV Backflow Preventer Brands
| Brand | Why Choose It | Price Range |
|---|---|---|
| Camco | Affordable, user-friendly, durable | $15 – $30 |
| Valterra | High durability, corrosion-resistant | $20 – $40 |
| Watts | Best for high-pressure systems | $25 – $50 |
Example: If you’re new to RVing, Camco is a solid choice for beginners. It’s affordable and reliable. For those who travel full-time or frequently connect to different water systems, Watts is built to last and handle high-pressure water sources.
Read Also : How Much Refrigerant Does an RV Air Conditioner Need?
How to Install an RV Backflow Preventer (Step-by-Step)
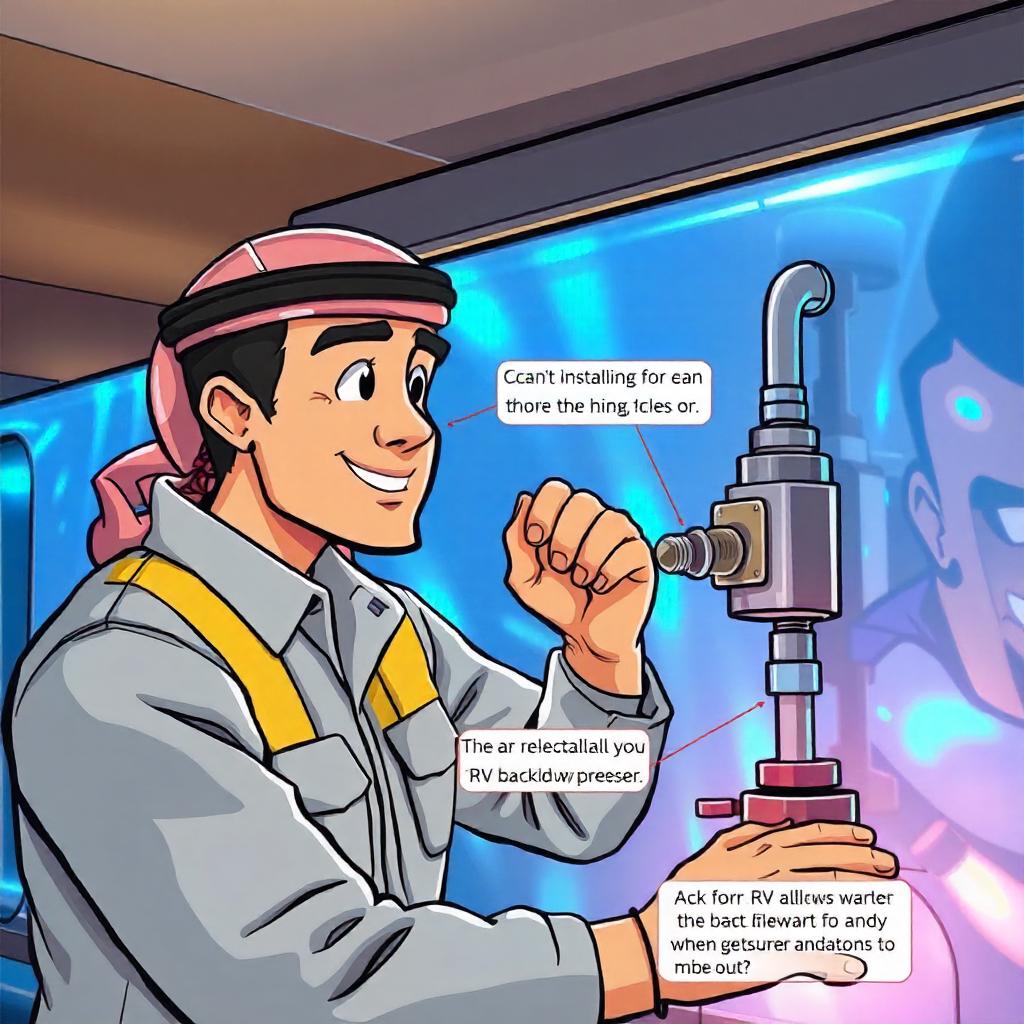
Here’s where the fun starts—install rv backflow preventer. Don’t worry, even if you’re not a pro, this is something most RV owners can do themselves.
What You’ll Need
- Wrench
- Pipe tape (Teflon tape)
- Screwdriver
- Bucket (to catch any water drips)
- Pliers
Step-by-Step Instructions
Step 1: Turn Off the Water Supply
First things first, shut off your water supply. If you’re connected to a city water hookup, make sure to disconnect that too. Open up your faucets to relieve any pressure in the system.
Step 2: Locate the Water Inlet or Pump
Find where you need to install the backflow preventer. It’s usually at the water inlet (where water enters your RV from an external source), or near the water pump.
Step 3: Wrap the Pipe Threads
Before attaching the backflow preventer, wrap the threads with pipe tape to create a watertight seal. This step helps prevent leaks later.
Step 4: Install the Backflow Preventer
Now, attach the preventer to the pipe, ensuring it’s pointing in the right direction. There should be an arrow indicating the flow of water—make sure it points toward your RV.
Step 5: Tighten the Fittings
Using a wrench, tighten the connections. Be careful not to overtighten, which could damage the threads or preventer.
Step 6: Turn On the Water and Check for Leaks
Once everything is in place, turn the water back on and slowly build up pressure. Check for leaks around the fittings. If you spot any drips, turn off the water, add more pipe tape, and tighten again.
Pro Tip: After installation, run water through the system for a few minutes to make sure everything is working correctly.
Read Also : How to Reseal RV Roof: A Complete Guide
Common Mistakes to Avoid During Installation
Over-tightening the Connections
This is a common mistake. It’s tempting to crank down on the wrench to prevent leaks, but over-tightening can actually damage the preventer or strip the threads.
Installing It Backwards
You’d be surprised how easy it is to install the backflow preventer in the wrong direction. Always double-check the flow direction (indicated by an arrow on the device).
Forgetting the Leak Test
After installation, don’t skip the leak test. Slowly turn the water back on, build up the pressure, and check for drips or leaks. This will save you from potential water damage later on.

Maintaining Your RV Backflow Preventer
To make sure your backflow preventer continues to work properly, you’ll need to do a little bit of maintenance.
Regular Inspections
Check your backflow preventer at least once or twice a year. Look for signs of wear, rust, or leaks. It’s a good idea to inspect it before and after long trips.
Cleaning Sediment Buildup
This is because when you are always connecting to other water source then other sediments may accumulate into the backflow preventer. Make sure to clean the system from time to time to help prevent the build up.
Winterization
If you are leaving your RV in cold months then at least, remove the water from the system including the backflow preventer. It must be understood that,(4) The preventer is susceptible to freezing of water, within an inside condition.
Conclusion
To install Rv backflow preventer at the main inlet of your RV is cheap and the best way of combating backflow and other water borne diseases. No matter if you are a casual camper and just sleeping in a tent or an experienced RVer using his recreational vehicle as a permanent home this little device will give you a good protection against water that might be contaminated or damaging your belongings.
With this guide, you now have everything you need to pick the right backflow preventer, install it correctly, and keep it maintained for years of clean, safe water in your RV.

